前言:关于 npm 的安装 bug
注意镜像源!!
在国内环境我们可能会使用淘宝等第三方的镜像源,但是有的包更新频率较快(比如 cloudflare 的脚手架 create-cloudflare),在这些第三方源中不一定是最新版。
若可能是版本问题导致的安装 bug,可以考虑使用nrm来管理镜像源,并使用npm的官方源来安装包。
nrm 的一些使用指令:
安装 nrm:npm install -g nrm
查看镜像源:nrm ls
切换到某个镜像源:nrm use <镜像源名称>
添加新的镜像源:nrm add <镜像源名称> <镜像源 URL="">
删除镜像源:nrm del <镜像源名称>
安装 cloudflare woker
使用命令npm create cloudflare,并安装后续指示操作即可。
要查看更多安装参数参考文档
部署 worker
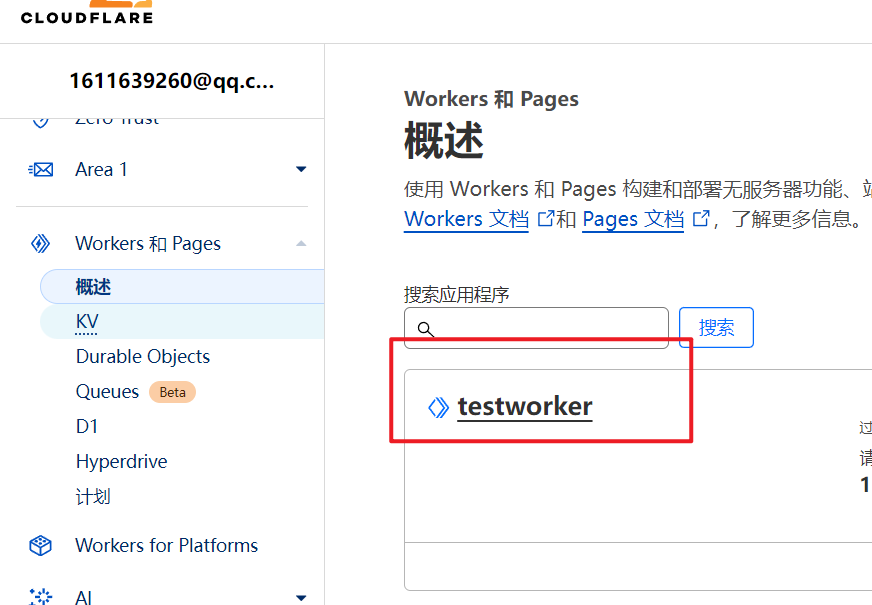
1. 首先在 cloudflare dashboard 上创建一个 worker
2. 登录到 cloudflare
使用命令npx wrangler login,在浏览器中验证登录即可。
3. 配置 wrangler.toml
在创建好的 cloudflare 项目中,查看wrangler.toml文件(用于配置 worker 项目,添加组件等),最初需要关心的一些参数如下
1
2
3
4
5
6
7
8
9
10
# worker的名称,唯一标识,默认和项目同名,
# 若要和dashboard上的同步,修改名称于dashboard上相同即可
name = "testworker"
# 入口文件
main = "src/index.js"
# 兼容性日期,可以简单理解为一个worker的版本控制,只会考虑日期前的新特性
compatibility_date = "2024-06-14"
# 兼容性标识符,若不想修改compatibility_date,而想单独启用/禁用某些特性
# 可以通过增添标识符来实现
compatibility_flags = ["nodejs_compat"]
4. 部署项目
使用npm wrangler deploy部署,会将 worker 更新到本地的代码版本
使用npm wrangler dev进行本地部署,使得 woker 可以在本地的如http://127.0.0.1:8787地址访问。
本地部署时有个菜单,其中按l可切换预览版本,使其可组合使用其他 coudflare 服务,如 R2,KV 等。(貌似经常性出现连接问题)

5. 进行开发
基本代码
在hello world的模板中返回一个Hello World的文本响应
1
2
3
4
5
export default {
  async fetch(request, env, ctx) {
    return new Response("Hello World!11111");
  },
};
查看request.cf,修改响应及其 header:
1
2
3
4
5
6
7
8
export default {
  async fetch(request, env, ctx) {
    console.log(JSON.stringify(request.cf));
    return new Response(JSON.stringify({ message: "Hello, World!" }), {
      headers: { "Content-Type": "application/json" },
    });
  },
};
访问 worker,输出如下:通过request.cf可以看到很多信息,如请求所在地区、机器人判别等
{“clientTcpRtt”:69,”longitude”:”118.77380”,”latitude”:”32.05890”,”tlsCipher”:”AEAD-AES256-GCM-SHA384”,”continent”:”AS”,”asn”:4538,”clientAcceptEncoding”:”gzip, deflate, br, zstd”,”country”:”CN”,”tlsClientAuth”:{“certIssuerDNLegacy”:””,”certIssuerSKI”:””,”certSubjectDNRFC2253”:””,”certSubjectDNLegacy”:””,”certFingerprintSHA256”:””,”certNotBefore”:””,”certSKI”:””,”certSerial”:””,”certIssuerDN”:””,”certVerified”:”NONE”,”certNotAfter”:””,”certSubjectDN”:””,”certPresented”:”0”,”certRevoked”:”0”,”certIssuerSerial”:””,”certIssuerDNRFC2253”:””,”certFingerprintSHA1”:””},”verifiedBotCategory”:””,”tlsExportedAuthenticator”:{“clientFinished”:”b7d32484becb7887b0ef3e655d625317ba7efee62383366606edc37e851a96ea0cc5f3f2047321c58165e9d8a95b9c3c”,”clientHandshake”:”8cf3f639cf188548cfaf2d91517c913ec85f9c2f8af736ddc434076ef669a7928967ae306a235d494521bab958bd3125”,”serverHandshake”:”757222e5fe6235cd97a5188ade05e84a89b8912a8fce42c7eff7006b404f9e148a4e3dee962703523009e9d994a90cf1”,”serverFinished”:”df0608ecceb4c3f7cbbf4d9d7986757a28bc840a43747bd2c404e2abbbb53a62eddedec2dd26006a3aa3a1efecaa25fb”},”tlsVersion”:”TLSv1.3”,”colo”:”HKG”,”timezone”:”Asia/Shanghai”,”tlsClientHelloLength”:”386”,”edgeRequestKeepAliveStatus”:1,”requestPriority”:””,”tlsClientExtensionsSha1”:”Y7DIC8A6G0/aXviZ8ie/xDbJb7g=”,”region”:”Jiangsu”,”city”:”Nanjing”,”regionCode”:”JS”,”asOrganization”:”China Education and Research Network Center”,”tlsClientRandom”:”gtHBWXPG+kUSC6VkLEtSN2iqiOUjY3ULFa33RjnhnDc=”,”httpProtocol”:”HTTP/1.1”,”botManagement”:{“corporateProxy”:false,”verifiedBot”:false,”jsDetection”:{“passed”:false},”staticResource”:false,”detectionIds”:{},”score”:99}}
使用hono框架
hono是 cloudflare 官方推荐的一个框架。
hono 是一个小型、简单且超快的 Web 框架,适用于 Cloudflare Pages 和 Workers、Deno 和 Bun。
修改我们的 hello world 代码如下:
1
2
3
4
5
6
7
8
9
10
11
12
import { Hono } from "hono";

const app = new Hono();

app.get("/", (c) => {
  //c 是 上下文ctx
  //除了c.json,也可以使用c.text、c.html等方法,是响应的一种封装
  return c.json({ message: "Hello, hono!" });
});

//修改export为app
export default app;
使用 ai 组件
在wrangler.toml里添加 AI 组件:
1
2
[ai]
binding = "AI"
在应用中使用,通过c.env.AI来获取 AI 实例
1
2
3
4
5
6
7
8
9
10
11
12
13
app.get("/", async (c) => {
  const ai = c.env.AI;

  const res = await ai.run("@cf/meta/llama-3-8b-instruct", {
    messages: [
      { role: "system", content: "You are a helpful assistant" },
      { role: "assistant", content: "" },
    ],
    //stream:true  可开启流式传输,即bing那样逐字展示
  });

  return c.json(res);
});
通过查询参数来输入 prompt:
1
2
3
4
5
6
7
8
9
10
11
12
13
14
app.get('/ai', async (c) => {
	const ai = c.env.AI;
	const content = c.req.query('content') || 'How are you?';

	const res = await ai.run('@cf/meta/llama-3-8b-instruct', {
		messages: [
			{ role: 'system', content: 'You are a cute cat girl, your way of speaking is very cute. You speak in Chinese.' },
			{ role: 'assistant', content: content },
		],
	});

	return c.json(res);
});
6. 其他
除了在 cli 中编写 worker,也可对 worker 进行其他配置,如自定义域、路由、cron 触发器和邮件触发器等,这些功能可以完成更多更复杂的任务。