都在问 AI,但是如何打造一个自己的 AI 平台?
1. 基础使用
这里使用 Springboot 框架来整合 SpringAI,基于一个普通的 MVC Web 项目。要做的事如下:
- 配置 pom 依赖
- 配置 application(使用自己的 api key)
- 业务代码(配置客户端等)
1.1 配置 pom
主要是在dependencyManagement中配置 SpringAI 以及添加相关的repositories,以及相应的依赖:
1
2
3
4
5
6
7
8
9
10
11
12
13
14
15
16
17
18
19
20
21
22
23
24
25
26
27
28
29
30
31
32
33
34
35
36
37
38
39
40
41
42
43
44
45
46
47
48
49
50
51
52
53
54
55
56
57
58
59
60
61
62
63
64
65
66
67
68
69
70
71
72
73
74
75
76
77
78
79
80
81
82
<?xml version="1.0" encoding="UTF-8"?>
<project xmlns="http://maven.apache.org/POM/4.0.0" xmlns:xsi="http://www.w3.org/2001/XMLSchema-instance"
	xsi:schemaLocation="http://maven.apache.org/POM/4.0.0 https://maven.apache.org/xsd/maven-4.0.0.xsd">
	<modelVersion>4.0.0</modelVersion>
	<parent>
		<groupId>org.springframework.boot</groupId>
		<artifactId>spring-boot-starter-parent</artifactId>
		<version>3.3.0</version>
		<relativePath/> <!-- lookup parent from repository -->
	</parent>
	<groupId>com.example</groupId>
	<artifactId>ai-openai-helloworld</artifactId>
	<version>0.0.1-SNAPSHOT</version>
	<name>ai-openai-helloworld</name>
	<description>Simple AI Application using OpenAPI Service</description>
	<properties>
		<java.version>17</java.version>
	</properties>

	<dependencyManagement>
		<dependencies>
			<dependency>
				<groupId>org.springframework.ai</groupId>
				<artifactId>spring-ai-bom</artifactId>
				<version>1.0.0-SNAPSHOT</version>
				<type>pom</type>
				<scope>import</scope>
			</dependency>
		</dependencies>
	</dependencyManagement>

	<dependencies>
		<dependency>
			<groupId>org.springframework.boot</groupId>
			<artifactId>spring-boot-starter-web</artifactId>
		</dependency>

		<dependency>
			<groupId>org.springframework.boot</groupId>
			<artifactId>spring-boot-starter-actuator</artifactId>
		</dependency>

		<dependency>
			<groupId>org.springframework.ai</groupId>
			<artifactId>spring-ai-openai-spring-boot-starter</artifactId>
		</dependency>

		<dependency>
			<groupId>org.springframework.boot</groupId>
			<artifactId>spring-boot-starter-test</artifactId>
			<scope>test</scope>
		</dependency>
	</dependencies>

	<build>
		<plugins>
			<plugin>
				<groupId>org.springframework.boot</groupId>
				<artifactId>spring-boot-maven-plugin</artifactId>
			</plugin>
		</plugins>
	</build>

	<repositories>
		<repository>
			<id>spring-milestones</id>
			<name>Spring Milestones</name>
			<url>https://repo.spring.io/milestone</url>
			<snapshots>
				<enabled>false</enabled>
			</snapshots>
		</repository>
		<repository>
			<id>spring-snapshots</id>
			<name>Spring Snapshots</name>
			<url>https://repo.spring.io/snapshot</url>
			<releases>
				<enabled>false</enabled>
			</releases>
		</repository>
	</repositories>
</project>
1.2 修改配置文件
添加自己的 API KEY(若使用的是第三方服务,则需要配置base-url),注意一旦引入 spring-ai 的依赖,由于其会自动装载,故必须配置 API KEY,否则无法启动项目。
application.yml配置如下:
1
2
3
4
5
6
7
8
server:
  port: 4567

spring:
  ai:
    openai:
      api-key: API KEY START WITH sk-
      base-url: https://api.302.ai/v1
1.3(可选)配置 ChatClient
配置ChatClinet的 bean 即可,可以指定Model。
配置完成后只需自动注入使用即可:
1
2
3
4
5
6
7
8
9
10
11
12
13
@Configuration
class Config {

    @Resource
    private OpenAiChatModel chatModel;

    @Bean
    ChatClient chatClient() {
        return ChatClient.builder(chatModel).build();
    }

}
1.4 使用(以 ChatModel 为例)
我们可以直接使用自动注入来调用 API:
1
2
3
4
5
6
7
8
9
10
11
12
@RestController
class AIController {
	@Resource
	private OpenAiChatModel chatClient;

	@GetMapping("/ai")
	Map<String, String> completion(@RequestParam(value = "message", defaultValue = "Tell me a joke") String message) {
		return Map.of(
				"completion",
				chatClient.call(message));
	}
}
2. 进阶使用
chatClient.call
有以下三种调用方法:

传入简单的 String message 对象上文已经使用了;使用Prompt对象可以传入更加复杂的参数:

也可以调用stream获取流式响应:
1
2
3
4
5
6
@GetMapping("/ai/generateStream")
	public Flux<ChatResponse> generateStream(
		@RequestParam(value = "message", defaultValue = "Tell me a joke") String message) {
	Prompt prompt = new Prompt(new UserMessage(message));
	return chatClient.stream(prompt);
}
OpenAiChatOptions
可以通过OpenAiChatOptions指定调用模型的参数,如具体模型、Temperature 等,具体请查阅文档。而使用这种方式调用的接口返回的是ChatResponse对象,其包含了更多的信息:
1
2
3
4
5
6
7
8
9
10
11
12
13
14
15
16
17
18
19
20
21
22
23
24
25
26
27
28
29
30
31
32
33
34
35
36
37
38
39
40
41
42
43
44
45
46
47
48
49
50
51
52
53
54
55
56
57
58
59
60
61
62
63
{
  "completion": {
    "result": {
      "output": {
        "messageType": "ASSISTANT",
        "metadata": {
          "refusal": "",
          "finishReason": "STOP",
          "index": 0,
          "id": "chatcmpl-9vEfengUZyPxOVSLl4diVAcw8yFnS",
          "role": "ASSISTANT",
          "messageType": "ASSISTANT"
        },
        "toolCalls": [],
        "content": "Sure, here's a light-hearted joke for you:\n\nWhy don't scientists trust atoms?\n\nBecause they make up everything!"
      },
      "metadata": {
        "contentFilterMetadata": null,
        "finishReason": "STOP"
      }
    },
    "metadata": {
      "id": "chatcmpl-9vEfengUZyPxOVSLl4diVAcw8yFnS",
      "model": "gpt-4o-2024-05-13",
      "rateLimit": {
        "requestsLimit": null,
        "requestsRemaining": 9,
        "tokensLimit": null,
        "tokensRemaining": 9356,
        "requestsReset": null,
        "tokensReset": null
      },
      "usage": {
        "generationTokens": 22,
        "promptTokens": 11,
        "totalTokens": 33
      },
      "promptMetadata": [],
      "empty": false
    },
    "results": [
      {
        "output": {
          "messageType": "ASSISTANT",
          "metadata": {
            "refusal": "",
            "finishReason": "STOP",
            "index": 0,
            "id": "chatcmpl-9vEfengUZyPxOVSLl4diVAcw8yFnS",
            "role": "ASSISTANT",
            "messageType": "ASSISTANT"
          },
          "toolCalls": [],
          "content": "Sure, here's a light-hearted joke for you:\n\nWhy don't scientists trust atoms?\n\nBecause they make up everything!"
        },
        "metadata": {
          "contentFilterMetadata": null,
          "finishReason": "STOP"
        }
      }
    ]
  }
}
OpenAiChatOptions具有默认值,且可以通过application.yml修改,其他参数参考文档:
1
2
3
4
5
6
7
8
9
spring:
  ai:
    openai:
      api-key: sk-xxxxx
      base-url: https://api.302.ai/v1
      chat:
        options:
          model: gpt-3.5-turbo
          temperature: 0.7
Message
可以将消息封装成不同角色来和 ai 对话,如 System、User。
System 拥有较高的优先级,比如可以预先对 Ai 的风格进行设置。
1
2
3
4
5
6
7
UserMessage userMessage = new UserMessage(message);
		SystemMessage systemMessage = new SystemMessage(
				"You are cute cat girl. You should entertain user. You Speak in Chinese.");
		return Map.of(
				"completion",
				chatClient.call(new Prompt(List.of(userMessage, systemMessage),
						OpenAiChatOptions.builder().withTemperature(0.5f).build())));
设置人设
可以在创建 ChatClient 时通过defaultSystem指定默认的系统行为。
1
2
3
4
@Bean
ChatClient chatClient() {
    return ChatClient.builder(chatModel).defaultSystem("You are cute cat girl now. You speak in Chinese.").build();
}
对话上下文
其本质就是在后续的每次对话中将前面的对话一起发送给大模型,故只需保存历史记录并在后续的对话中发送给大模型即可,这在 SpringAi 中也有封装实现:
注意这里实现不一定规范,只是为了测试使用
1
2
3
4
5
6
7
8
9
10
11
12
13
14
15
16
17
18
19
class AIController {

	@Resource
	private ChatClient chatClient;

	@Resource
	private OpenAiChatModel chatModel;

  //创建一个基于内存的ChatMemory,本质就是其内部维护了一个List
	private ChatMemory chatMemory = new InMemoryChatMemory();

	@GetMapping(value = "/ai/memeory", produces = "text/html;charset=UTF-8")
	public Flux<String> memeory(@RequestParam String sessionId,
			@RequestParam(value = "message", defaultValue = "Tell me a joke") String message) {
	  //创建一个能够保存历史记录的Advisor,
		var messageChatMemoryAdvisor = new MessageChatMemoryAdvisor(chatMemory, sessionId, 10);
		return chatClient.prompt().user(message).advisors(messageChatMemoryAdvisor).stream().content();
	}
}
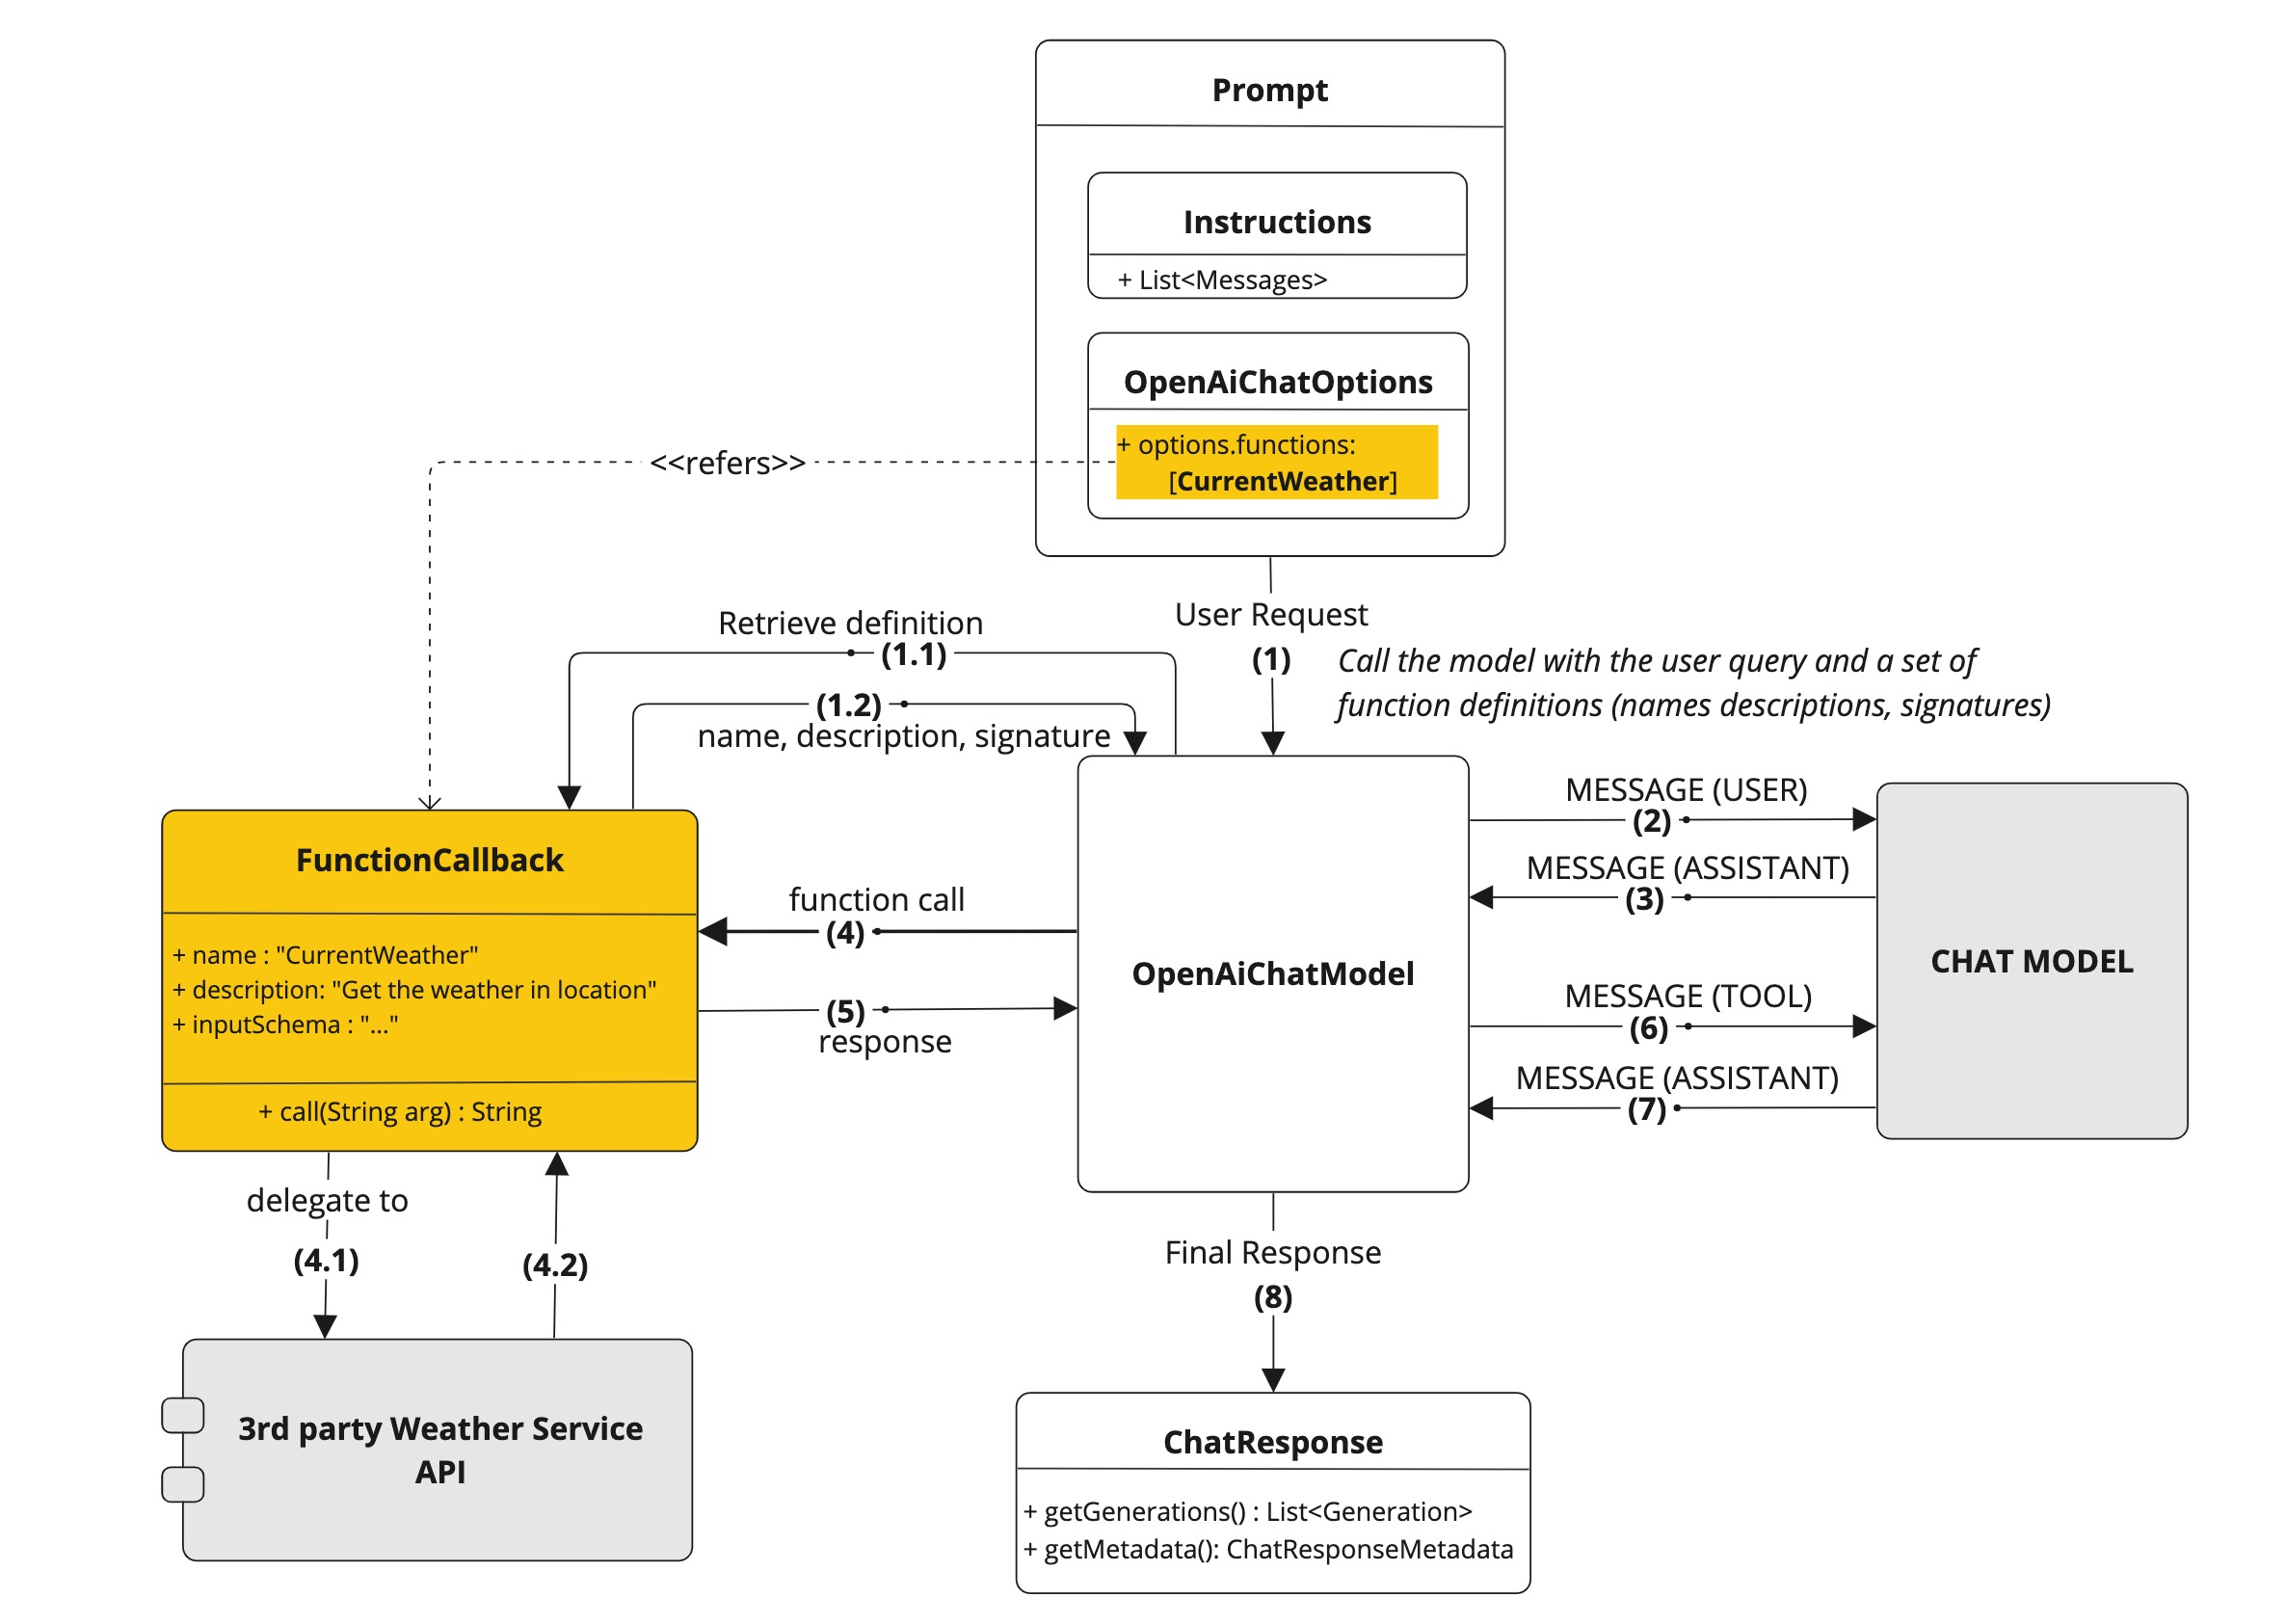
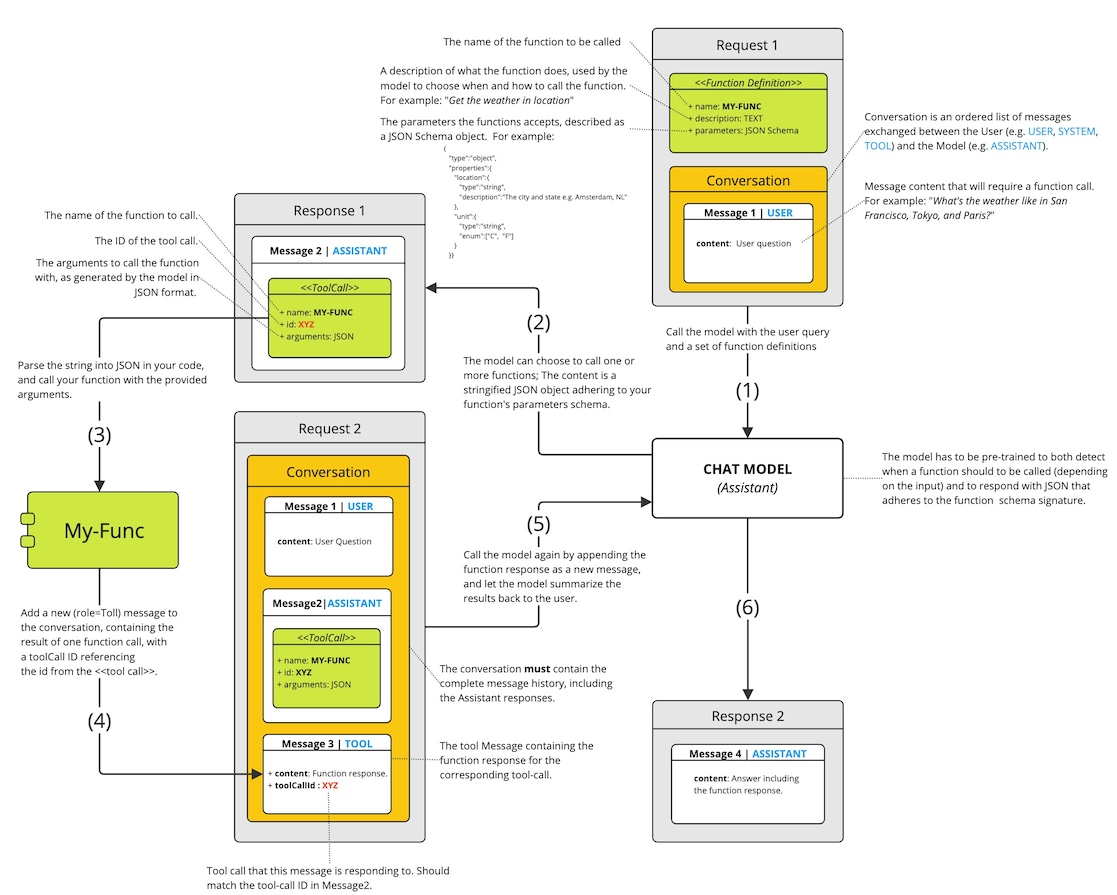
Function Calling
简单来说,就是使得模型具有调用函数/接口的能力,比如让模型去查询天气,查询实时数据等。
其原理步骤大概为:
- 发送用户的 message 和配置的
Function'(的名称、Description、签名等信息)到大模型,根据接口的Bean的Description决定是否调用接口 ; - 提取接口所需请求/输入参数,并返回给客户端;
- 客户端调用接口并传入提取好的参数;
- 函数返回响应,并发送给大模型;
- 大模型根据响应生成回答,返回给客户端。
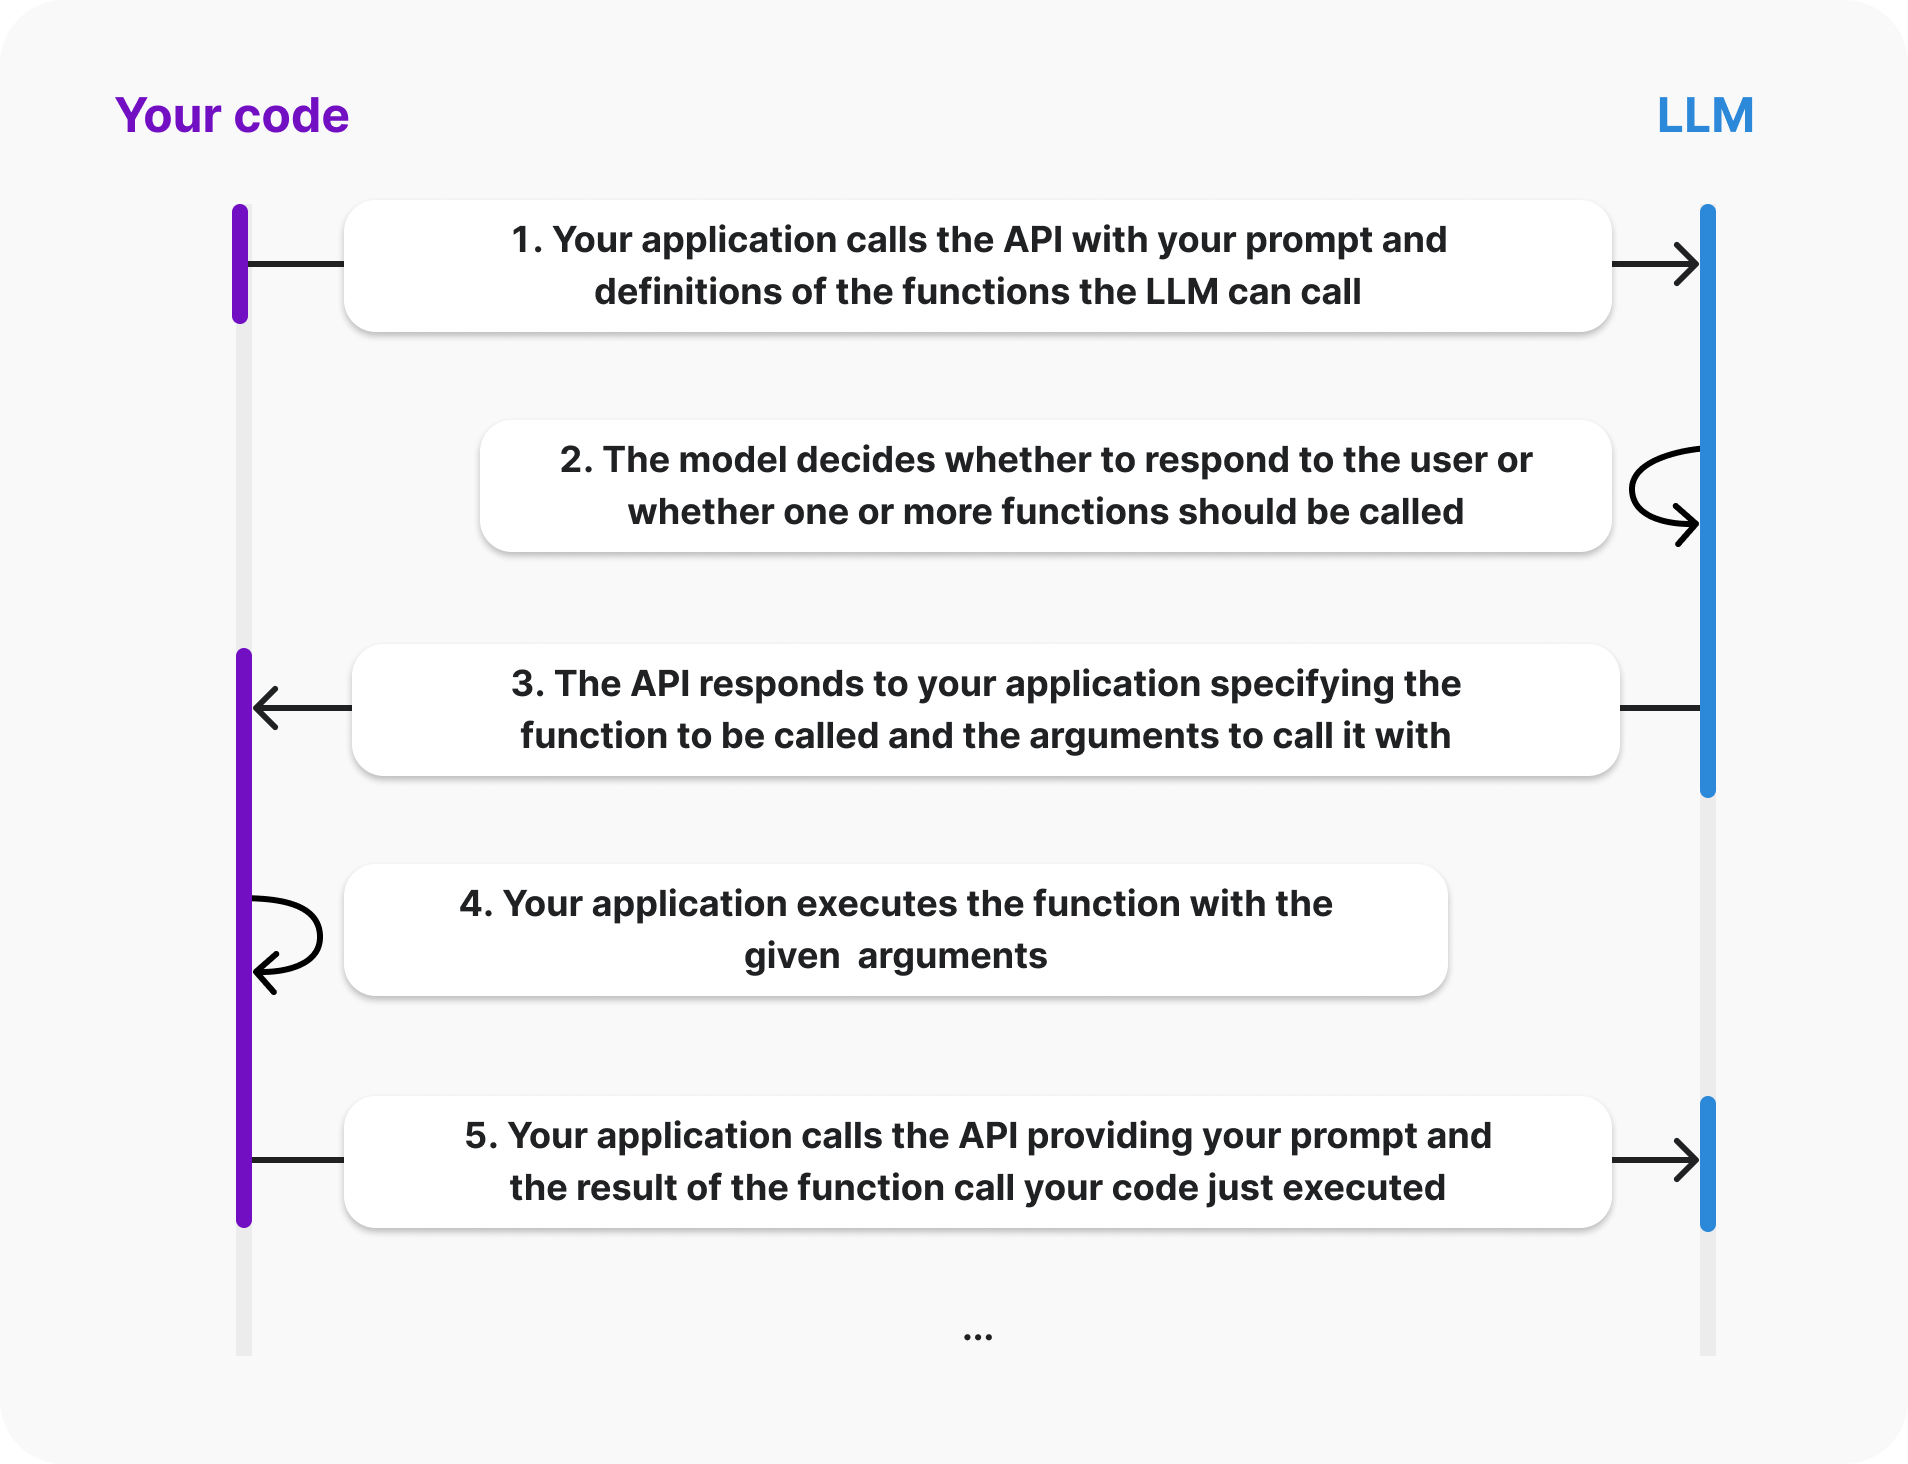
要实现这个功能,实现步骤可以参考步骤如下(这里只示例了定义一个接口的实现,实际可以支持多个接口):
1. 定义 Function 接口
1
2
3
4
5
6
7
8
9
10
11
12
13
14
15
16
public class LocationName implements Function<LocationName.Requset, LocationName.Response> {
    public record Requset(String location, String name) {
    }

    public record Response(String msg, int num) {
    }

    @Override
    public Response apply(Requset t) {
        if (t.location == null || t.name == null) {
            return new Response("无法解析参数", 0);
        }

        return new Response(t.location + " has" + t.name, 10);
    }
}
2. 定义 Bean
1
2
3
4
5
@Bean
@Description("某地有多少给定名字的人")
Function<LocationName.Requset, LocationName.Response> locationName() {
    return new LocationName();
}
3. 配置OpenAiChatOptions
1
2
3
4
5
6
7
8
@GetMapping(value = "/ai/func2")
public ChatResponse func2(
		@RequestParam(value = "message", defaultValue = "赣州有多少叫张雨萌的人") String message) {

	Prompt prompt = new Prompt(new UserMessage(message),
			OpenAiChatOptions.builder().withFunction("locationName").build());
	return chatModel.call(prompt);
}
除了使用OpenAiChatModel的 API,也可以使用ChatClient的 API:
1
2
3
4
@GetMapping(value = "/ai/func", produces = "text/html;charset=UTF-8")
public Flux<String> func(@RequestParam(value = "message", defaultValue = "赣州有多少叫张雨萌的人") String message) {
	return chatClient.prompt().user(message).functions("locationName").stream().content();
}
ChatClient 和 ChatModel 的区别
ChatClient封装了大部分大模型通用的功能,在切换具体模型时所使用的ChatClient API 无需更改,更加易用。
ChatModel可以针对具体的模型执行一些模型特有的方法或配置,更加灵活。
3. 实战
流式输出的实现
1. ChatModel
后端流式 api
回顾之前所提的调用stream获取流式响应,要实现我们使用的 ai 工具那样的逐字展现效果,完整的写法如下:
1
2
3
4
5
6
7
@GetMapping(value = "/ai/generateStream", produces = MediaType.TEXT_EVENT_STREAM_VALUE)
public Flux<ChatResponse> generateStream(
		@RequestParam(value = "message", defaultValue = "Tell me a joke") String message) {

	Prompt prompt = new Prompt(new UserMessage(message));
	return chatClient.stream(prompt).flatMapSequential(Flux::just);
}
其中produces = MediaType.TEXT_EVENT_STREAM_VALUE指定了这个方法的响应类型为text/event-stream。这是用来表示服务器会通过服务器发送事件(Server-Sent Events,SSE)的方式向客户端推送数据。
前端接受 SSE
这里使用fetch-event-source来处理事件流(npm install @microsoft/fetch-event-source)
POST:
1
2
3
4
5
6
7
8
9
10
11
12
13
14
15
16
17
18
19
20
21
const ctrl = new AbortController();
fetchEventSource("/api/sse", {
  method: "POST",
  headers: {
    "Content-Type": "application/json",
  },
  body: JSON.stringify({
    foo: "bar",
  }),
  signal: ctrl.signal,
  onmessage: (message) => {
    // 处理监听到的消息
  },
  onclose: () => {
    // 连接关闭后处理逻辑
  },
  onerror: (err) => {
    // 发生错误后调用
  },
  // Get请求处理如上相同
});
GET:(本文的前端代码实现)
1
2
3
4
5
6
7
8
9
10
11
12
13
14
15
16
17
18
19
20
21
22
import { fetchEventSource } from "@microsoft/fetch-event-source";
const BaseUrl = "http://localhost:4567/ai/generateStream";
const prompt = "你的问题";

const p = document.getElementById("message");

const ctrl = new AbortController();

fetchEventSource(BaseUrl, {
  method: "GET",
  headers: {
    "Content-Type": "application/json",
  },
  body: null,
  signal: ctrl.signal,
  onmessage: (message) => {
    // 处理响应的数据,该数据是一段一段的
    let content = JSON.parse(message.data).result.output.content;
    if (content) p.innerHTML += content;
    console.log(content);
  },
});
2. ChatClient
和ChatModel的 api 不同,ChatClient可以直接返回一个流式的响应:
1
2
3
4
5
@GetMapping(value = "/ai/stream", produces = "text/html;charset=UTF-8")
public Flux<String> stream(
		@RequestParam(value = "message", defaultValue = "Tell me a joke") String message) {
	return chatClient.prompt().user(message).stream().content();
}
前端可以直接使用fetch API进行请求和处理:
1
2
3
4
5
6
7
8
9
10
11
12
13
14
15
16
17
18
19
20
21
22
23
24
25
26
27
28
29
30
31
32
const BaseUrl = "http://127.0.0.1:4567/ai/stream";
const outputElement = document.getElementById("message");

fetch(BaseUrl, {
  method: "GET",
  body: null,
})
  .then((response) => {
    const reader = response.body.getReader();
    const decoder = new TextDecoder("utf-8"); // 将字节解码为文本

    function readChunk() {
      reader.read().then(({ done, value }) => {
        if (done) {
          console.log("Stream complete");
          return;
        }

        // 解码并显示接收到的数据
        const chunk = decoder.decode(value, { stream: true });
        outputElement.textContent += chunk; // 实时追加到页面元素中

        // 继续读取下一个数据块
        readChunk();
      });
    }

    readChunk(); // 启动第一次读取
  })
  .catch((err) => {
    console.error("Fetch error:", err);
  });